Hello Everyone, Happy New Year!!!
My girls are sitting together on the couch all cuddled up warm and watching Disney’s Pirate Fairies while I just made myself a cappuccino (the powdered kind … does that count?) and I’m sitting here ready to share my tutorial with you for the Giant Minnie Wreath I told you about in my first article last week!
Before you look at me like I have three heads for posting this after Christmas, let me explain … this is the BEST time to get your wreaths! Many are up to 70% or 80% in stores like Michael’s and JoAnn’s. If you have any wholesale places you’d like to share, please list in the comments! I got my large wreath last year for only $8.00 at Michael’s and this year was able to get the smaller two a couple days before Christmas and they were already marked for post Christmas sales, plus I got to use an in-store coupon, so I think the total was less than 10 bucks for both!
You will need:
- 1 large wreath
- 2 med wreaths (small with large looks disproportioned)
- 2 wire hangers
- several zip ties,
- scissors,
- large red outdoor-safe ribbon (I used a metallic grid type ribbon)
- 1 strand red mini lights (50 is sufficient)
- 2 strands of 100 mini Christmas lights, your choice, colored or white, either looks great!
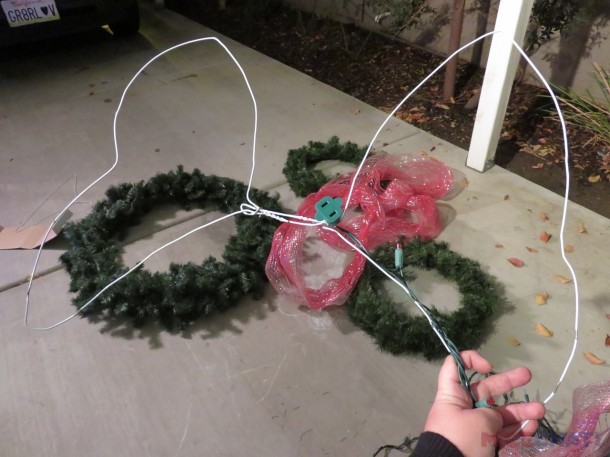
First, I created the bow using 2 wire hangers. I wanted the tips of the bow to pass Minnie’s ears to keep it in proportion with classic animated Minnie Mouse. This part was fairly simple, though I did rework it a couple times after I set it on the ground in between the ears to get the spacing right.
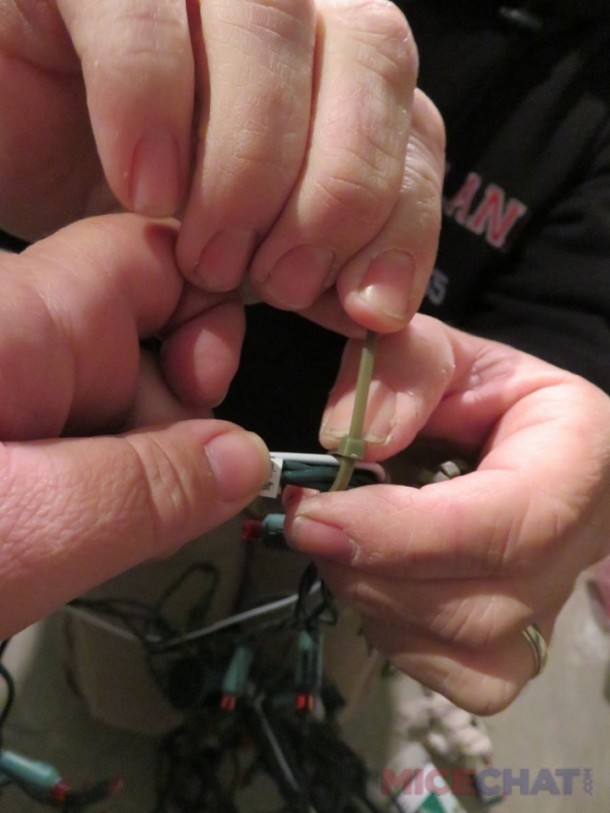
Next, I (okay, with a LOT of help from my husband) used zip ties to secure the lights to the frame of the bow making sure to leave the plug near the bottom of the bow so I could attach the next 2 strands of lights to it. Don’t forget to test the lights before you do all the work! But please, unplug before completing the wreath – trust me on this!
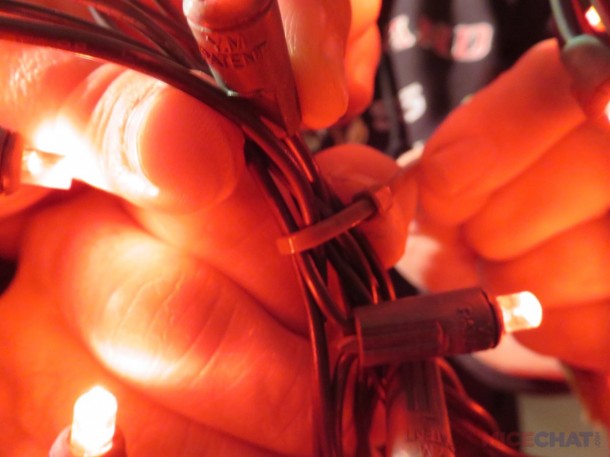
Clip off any excess zip tie tails …
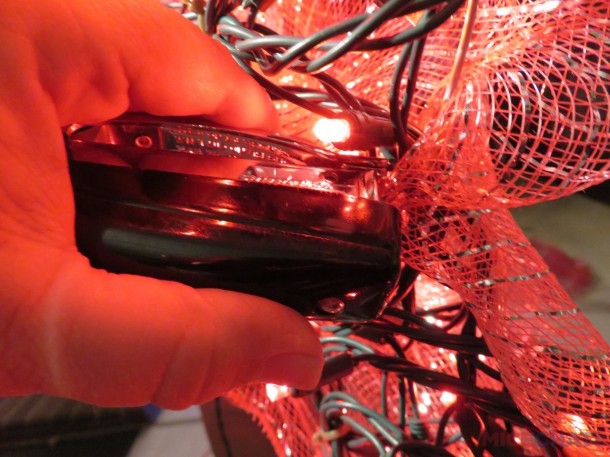
Next, I filled in the bow by wrapping the light wires closely and as tight as possible without squeezing the shape out of the bow. For this part, it’s okay to turn the lights on so you can see any black space.
This, for me, was the most frustrating part – I might have done better if we weren’t outside in the freezing cold with light rain falling from the sky … for some reason, I imagined the carport providing warmer shelter – duh!
This next part could use an extra set of hands, but it’s not impossible for one person to do this by themselves. Use zip ties to pinch together sections within the bow to fill it out and keep the lights from sliding down the sides once it is hung. I used a simple criss-cross pattern.
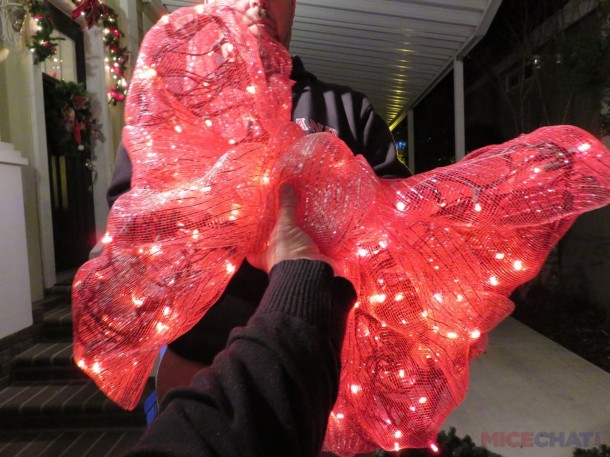
Wrap the bow in your ribbon of choice, staple at seams. Remember, the more lacey the ribbon, the more light shows through. This is a matter of preference. My kids are both under 10 years old, so I thought an obnoxious amount of bright red would be perfect! PLEASE, make sure the lights are UNPLUGGED for this part! Nobody wants a charred mommy or daddy!
Once your bow is done,
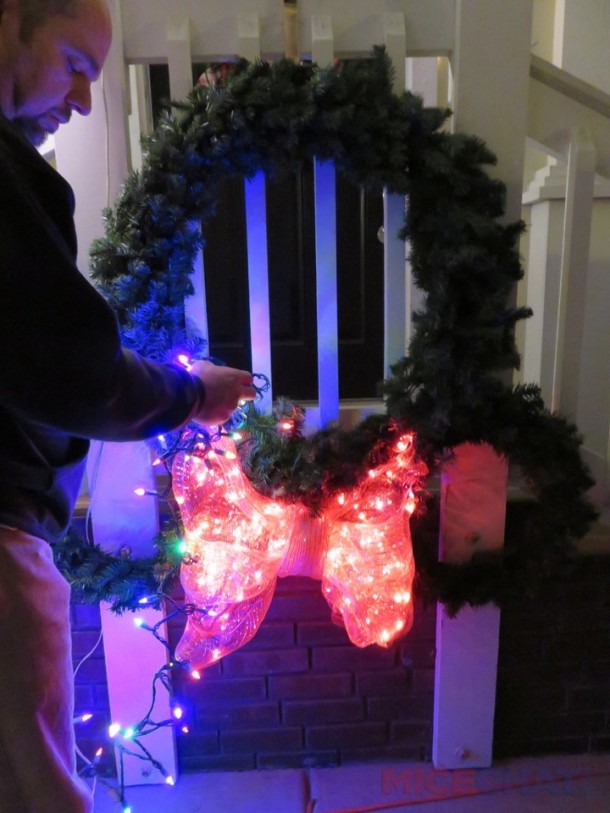
Secure it to your wreath, making sure to leave the electrical plug hanging out the back. Attach the two med size wreaths with the “ears” slightly behind the bow edges.

Now it’s time to add lights to the ears, using one strand for one ear and following down to the bottom, and doing the same with the other strand for the opposite side, making sure you leave the plug near whatever side (or bottom) you plan to bring electricity in to it.
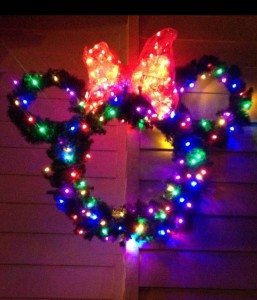
Now, your wreath is complete and ready to hang.
You will probably forget all about it as the year goes by and have a SUPER fabulous surprised when you get your decorations out next Winter!
Many thanks to my super-willing and wonderfully supportive husband, Daniel, who somehow gets drafted every time I sign up to do something!
If you end up making this wreath or any other versions of it, please share in the comments! I’d love to see them!
Lots of love to you and yours and best wishes for a happy and healthy 2016!
Antoniette~*






You must be logged in to post a comment.