
We have a big report for you today from MiceChat reader, Sooner Jeff, who recently visited the traveling Marvel Experience. Settle in, because you’ll feel like you were right there with Jeff by the time you are done reading.
Howdy y’all! I have an update for you today from a recent visit to the Marvel Experience in Dallas, Texas. This event is visiting select cities across the country to provide a unique opportunity for Marvel and Disney enthusiasts to get their fix closer to home.
The Dallas event took place during the latter half of January 2015. I was fortunate enough to attend on a day when the temperature outside hit about 70 degrees, just a few days earlier the high was only 40. Anyone familiar with North Texas knows either one is equally likely during winter. Even though much of the event was inside temporary “dome” structures, there was a substantial portion of time spent waiting outside.
The event was staged at historic Fair Park, just east of Downtown Dallas, immediately adjacent to the Cotton Bowl Stadium. This is where the annual Red River Showdown takes place between Oklahoma and Texas.
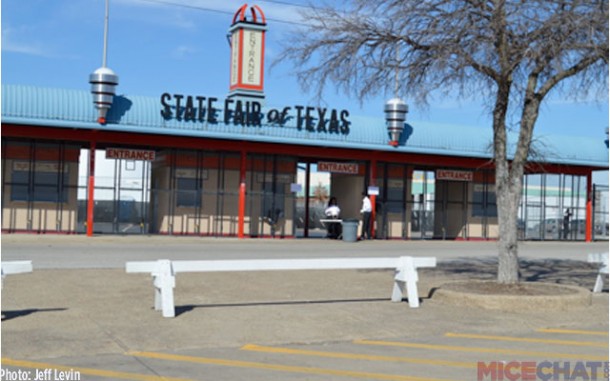
There was plenty of parking close to the entrance on the day I visited. They appeared to be set up to run a parking lot tram, indicating they expected heavy crowds at times. There was also a location for VIP parking reserved closer to the entrance. I went mid-morning and I imagine it would get more crowded on weekend afternoons and evenings. I was able to park a couple hundred feet from the entrance.

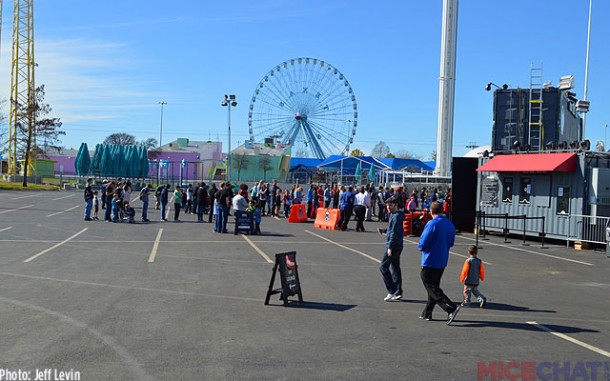
The event was held in a portion of the fairgrounds featuring a large amount of flat open space. The event is staged in a series of large white domes. I overheard someone joke before entering that it looked like they cut off half of Epcot’s Spaceship Earth dome and moved it to Texas.
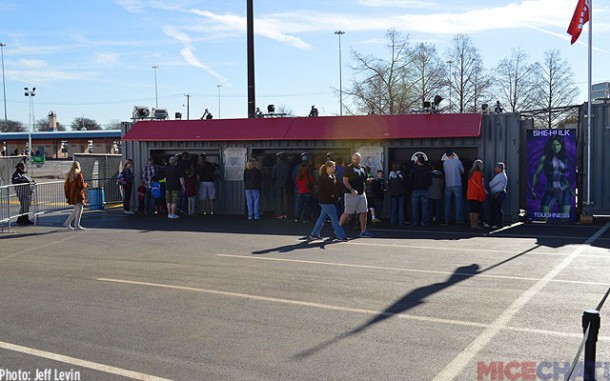
The event required a lot of waiting outside and inside. The above image was taken while waiting in line to get my pre-purchased ticket scanned to enter. This was the first of many waits.
Tickets were distributed in 30-minute increments in an apparent attempt to control guest flow. My advance purchase ticket ran about $35 for an adult and there was an additional $10 parking fee once I arrived. Ticket prices appeared to vary slightly based on day of the week and time of day, with weekends being more expensive. Your mileage may vary, so I recommend checking the website for the times and location you are interested in.
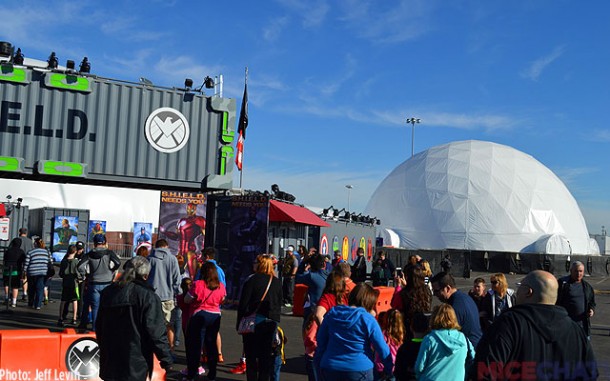
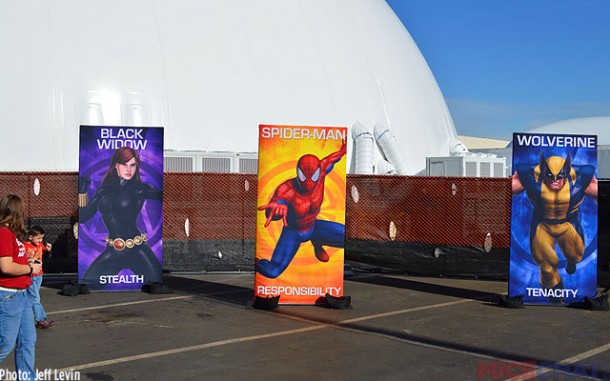
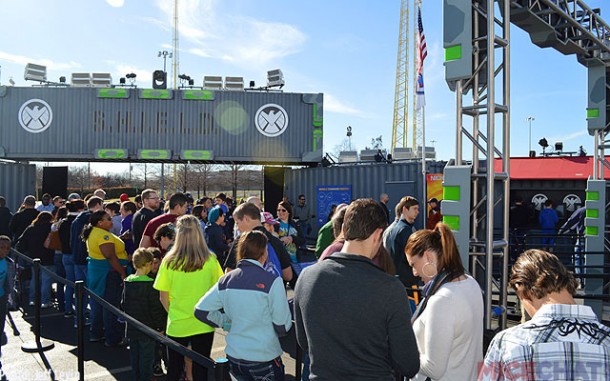
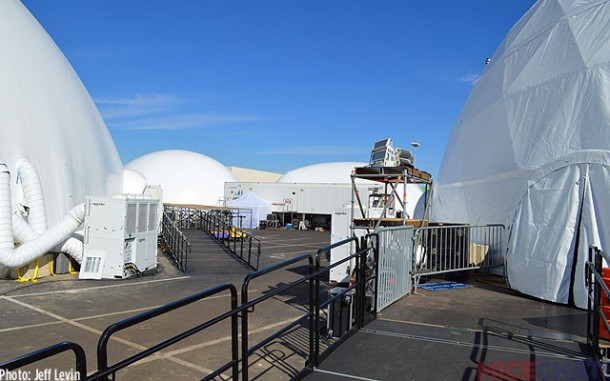
There were 2 lines to get into the initial outdoor queuing area of the event. The white dome on the right is the final dome in the Marvel Experience. You work your way around in a clockwise manner.

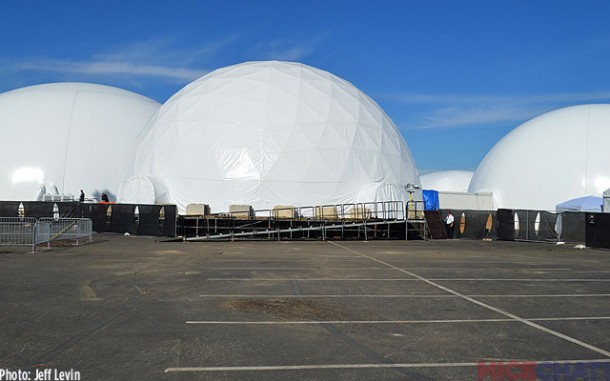
These photos give you a general idea of the setup from the outside of the final dome.

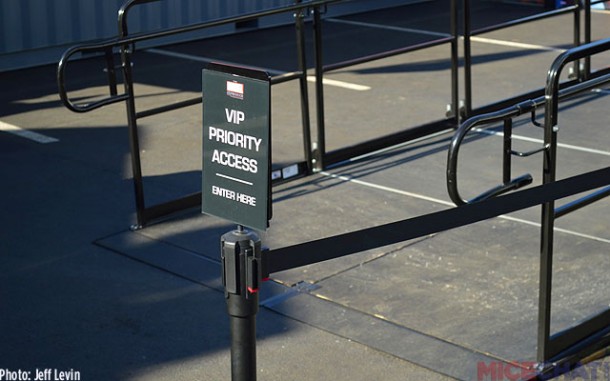
The little signs are directions to the VIP entrance. The VIP tickets ran more expensive, but included additional perks. Some of the perks, in addition to the ticket, were a VIP lounge, priority access into “select components” of the experience, a poster, a photo, a customized merchandise item, parking, and an experience concierge. This offering was running about $100 when I looked online. I did not splurge for the VIP experience, so I do not have a personal review regarding those offerings
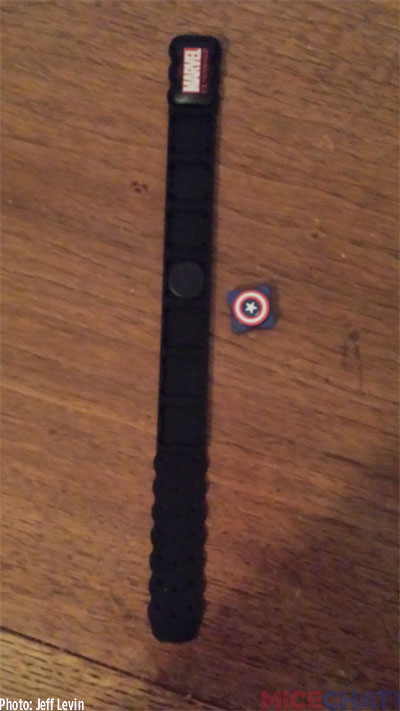
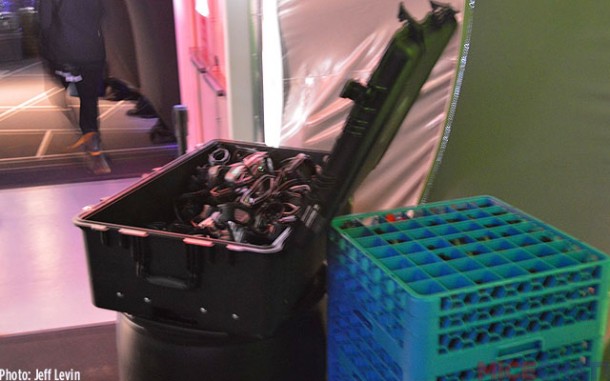
When you enter, you are given a rather cheap looking rubber wristband for use throughout the experience. Not quite a MagicBand. You also get to choose a plastic piece displaying a character during the experience. I chose Captain America.

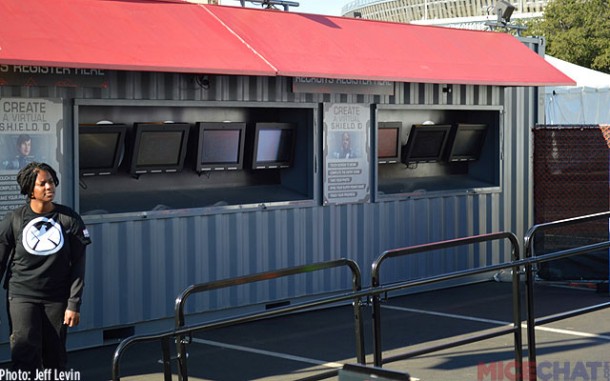
Once in the outdoor queuing area, there is more waiting to create your virtual ID. There were banks of touchscreens to the left and right. The whole setup was a jumbled mess that took a solid 20-30 minutes to get through. The touchscreens were not intuitive nor responsive to users. Large groups were taking a long time to slowly create an ID for everyone in their party. Not the fault of the guests, just victims to a poor setup.
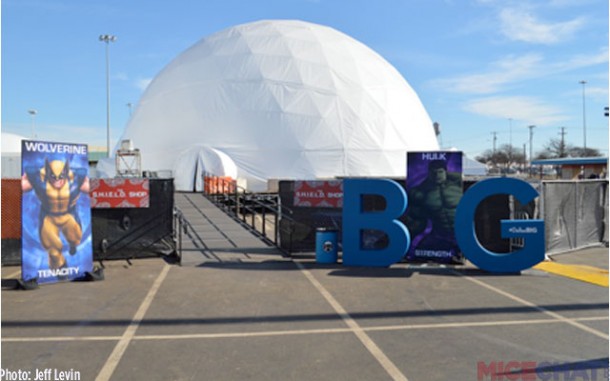
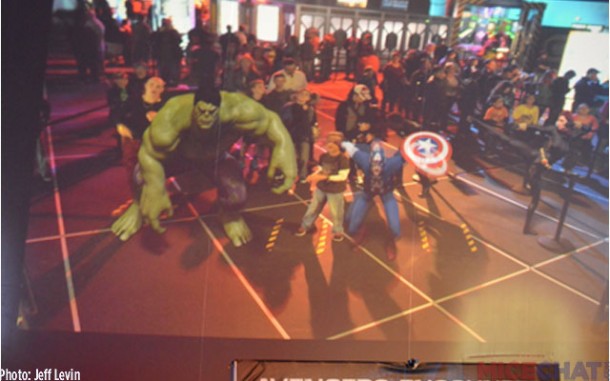
More photo ops. The dome pictured above is the last dome in the event and housed the merchandise area. There was a Dallas marketing photo op on the right with the Hulk image.
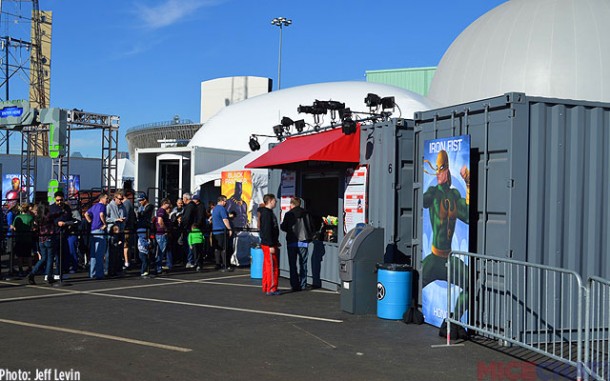
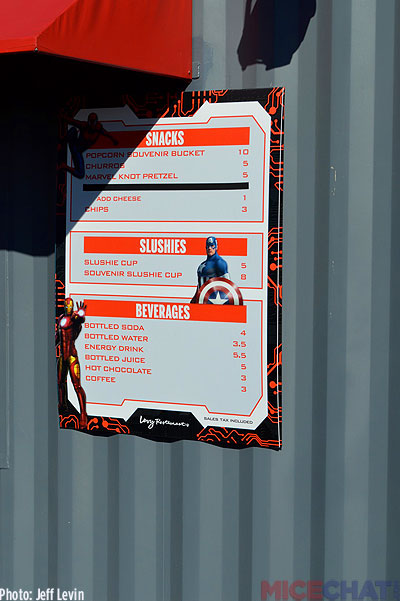
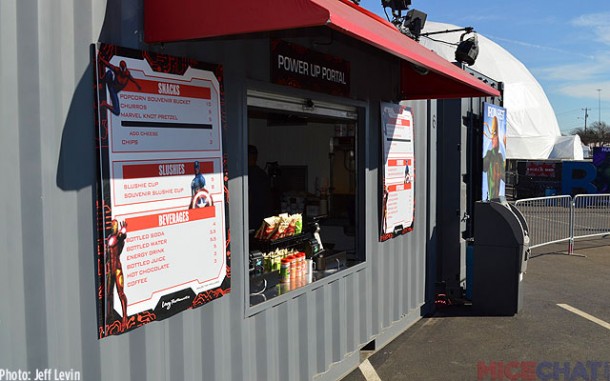
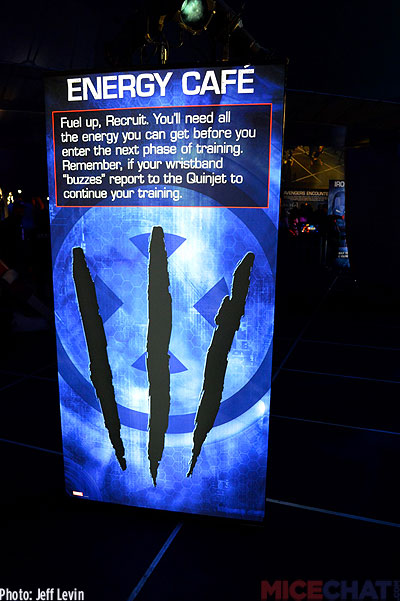
The above image is from one of the lines for the virtual ID, looking towards the dome entrance. You can make out part of the Cotton Bowl Stadium on the top left part of the image. The line on the left is the next line I would have to wait in to officially enter the experience. This would make 3 lines before even getting into the first dome. There was a decent amount of outdoor waiting prior to going inside, about 30-45 minutes. Your mileage may vary depending on time of day, day of the week, and how soon prior to your scheduled start time that you arrive – something to keep in mind in case it is rainy or cold on the day you plan to attend. On the right is the first of numerous food and beverage opportunities.
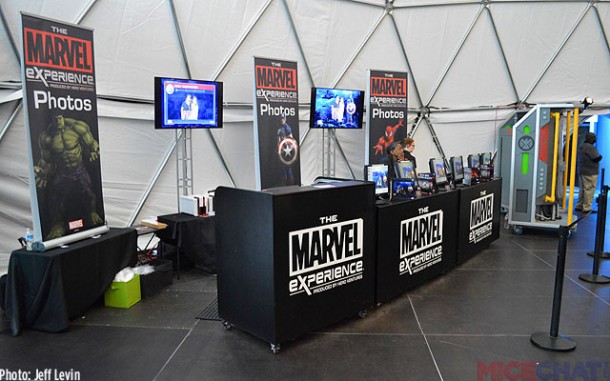
This is the queue to get into the first dome. There was a photo op in this queue with a green screen. Images were available for purchase later on in the experience.
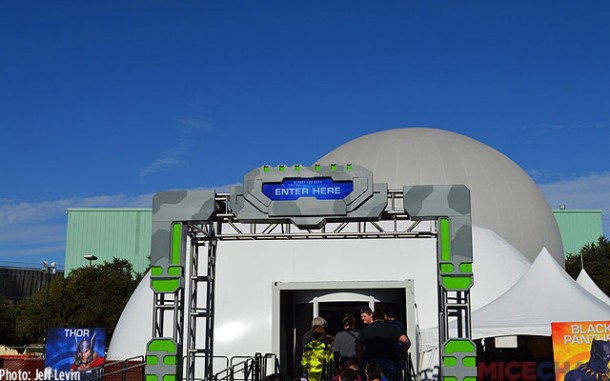
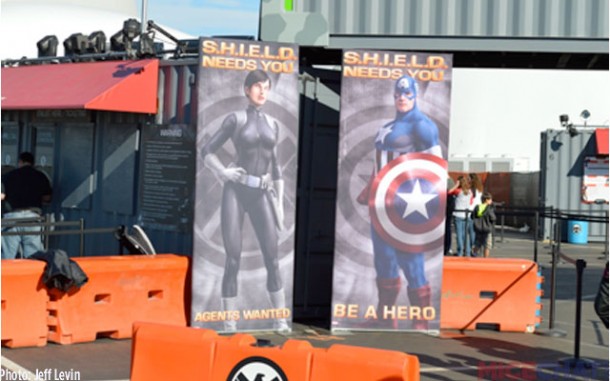
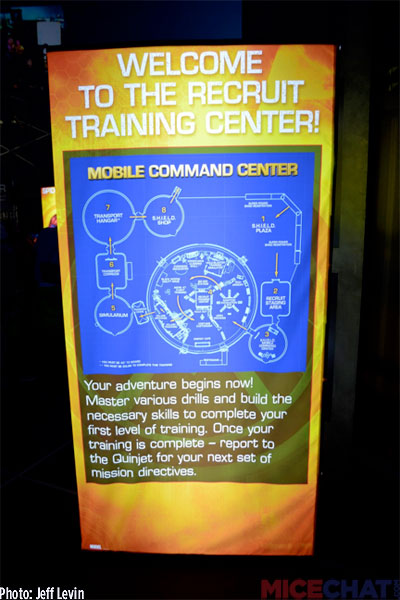
Getting closer. They would provide a map and guide for the experience. I would come to find out that this initial outdoor area where the virtual ID and lines were was called the S.H.I.E.L.D. Plaza.
The virtual ID queues are now totally empty. I actually think arriving closer to your official assigned time may be beneficial. They appeared to be holding the next slot outside until at least 30 minutes before.
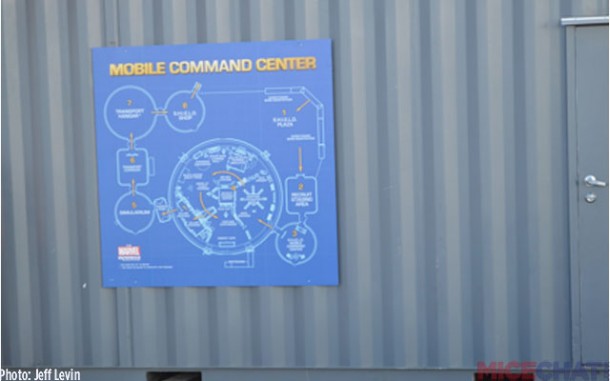
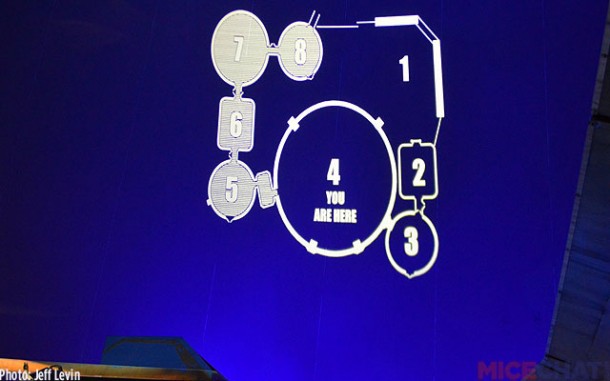
The map of the experience posted on a trailer near the line. The beginning of the journey (S.H.I.E.L.D Plaza) is on the top right and works its way around clockwise. There were a total of 8 areas in the experience. Of these areas, 4 were “holding” or “transitional” areas, and 1 was a merchandise area. That means there were 3 actual main experience domes.
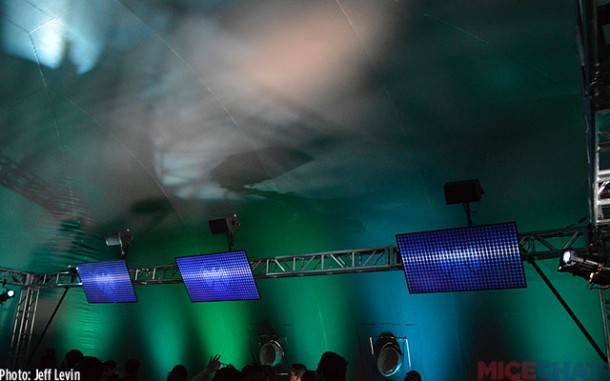
I was finally inside the first dome, called the “Recruit Staging Area.” The lights changed colors every few seconds. There were about 8 flat screens on the sides for easy viewing.
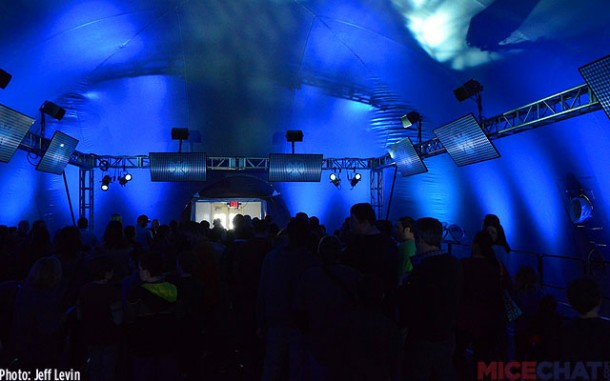
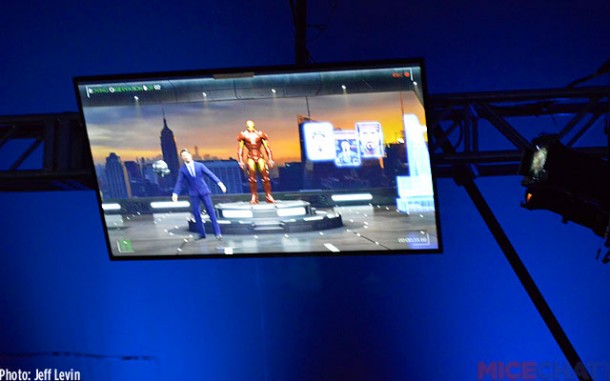
Tony Stark welcomes everyone to the experience and helps to get things started. This video lasted a few minutes after having waited for about the same amount of time inside before the video. There was ample room to stand and spread out in this room.
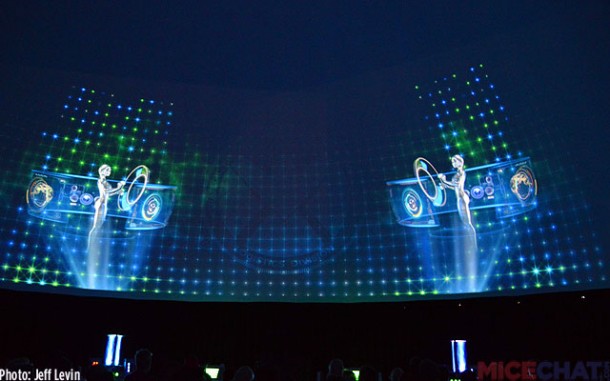
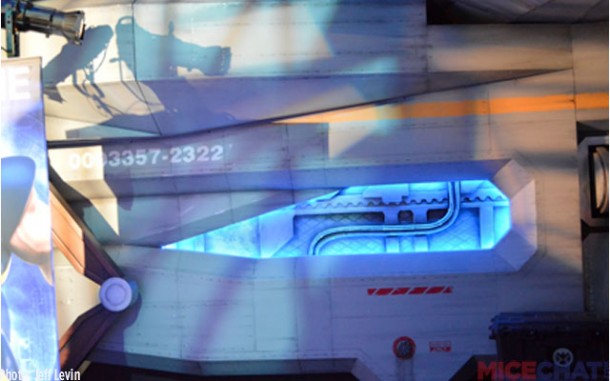
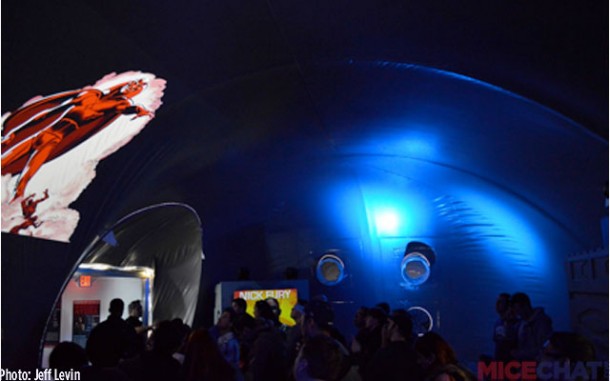
Everyone was then herded along to the next dome, the “S.H.I.E.L.D. Mobile Command Center.” This dome featured projections on half the dome. This was a pretty neat effect and seemed to be an effective utilization of the white dome tops.
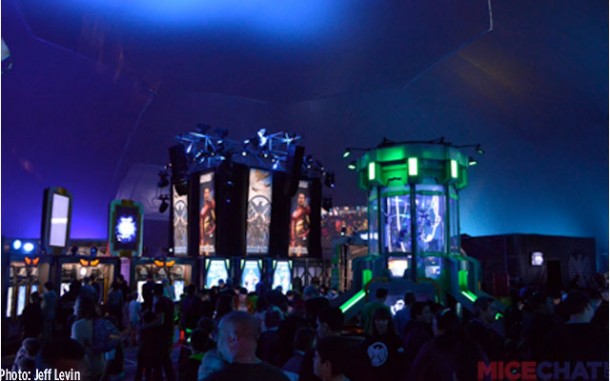
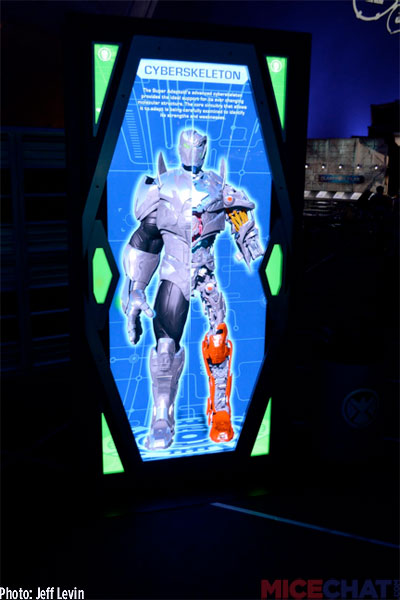
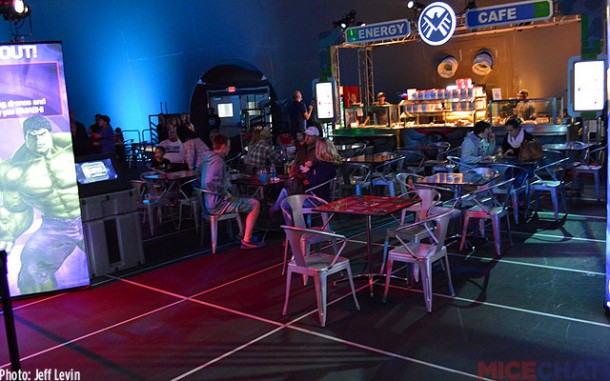
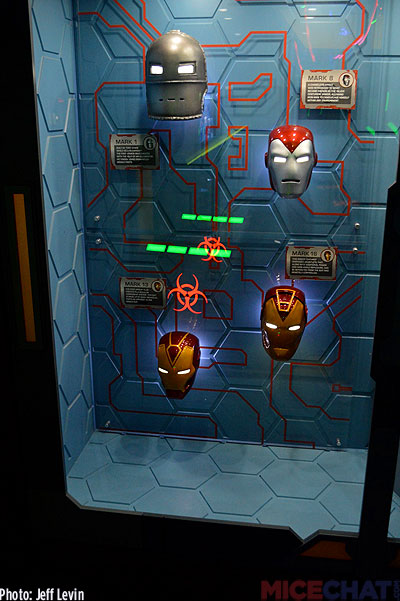
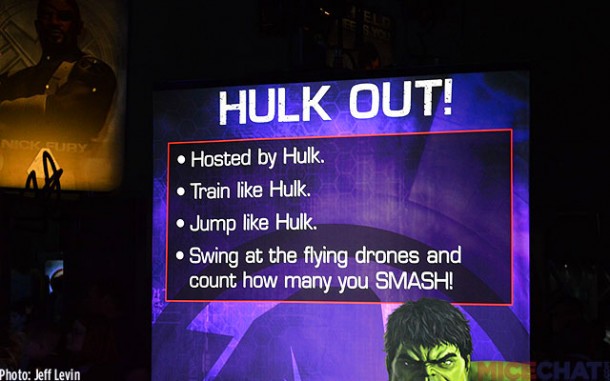
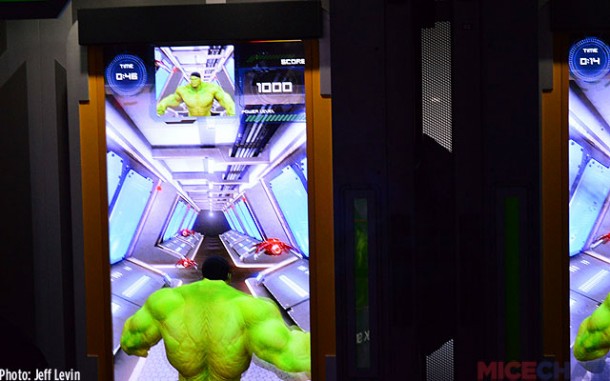
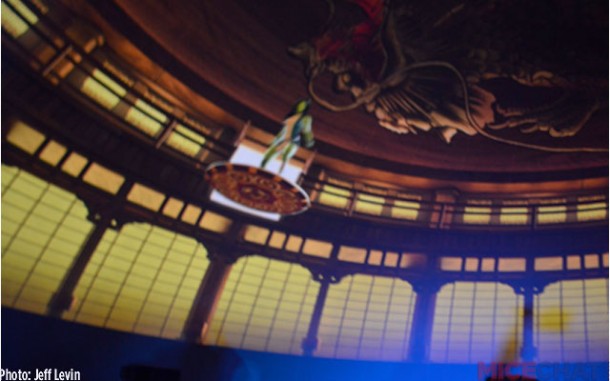
Next was the main component of the experience, the “Recruit Training Center.” This was by far the largest dome of the experience and it also featured a ton of props, games, experiences, food, beverage, and bathrooms. In this dome you are freed up to experience what you want to at your leisure . . . of course having to wait in line for everything that you do wish to experience.
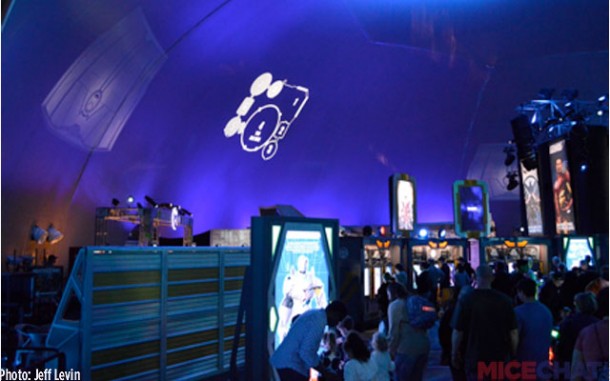
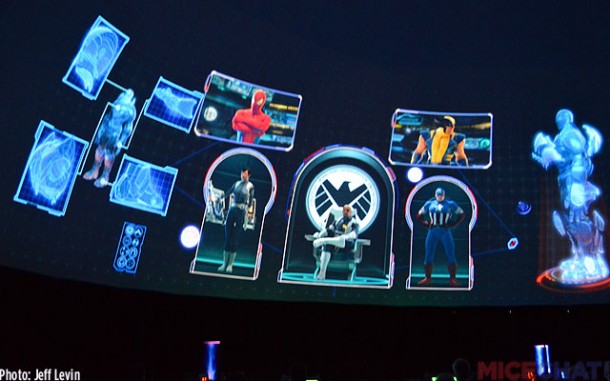
The large dome featured projections including a map of the experience and occasional visits from a Marvel super hero through projection on the dome.

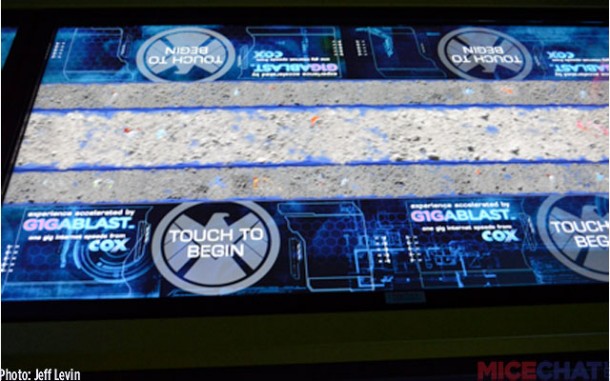
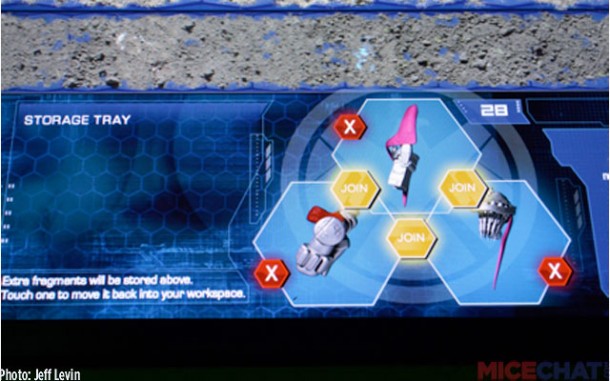
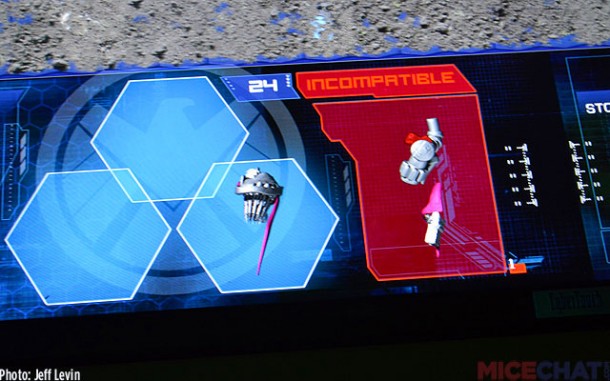
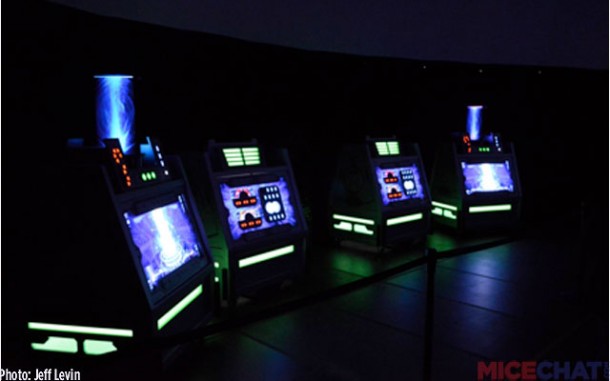
An interesting touch screen game called the “Adaptoid Excavation Site.” The goal was to pick fragments out of the sand, drag them out and try to find matching pieces.
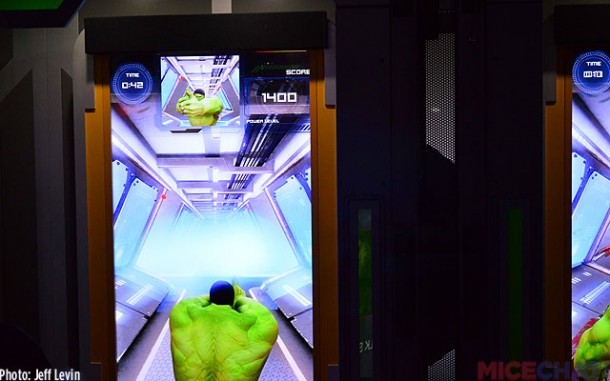
As a consistent trend, the graphics on most of the interactive screens were quite impressive. Other then the outdoor virtual ID screens, the graphics were sharp, crisp, clean and the responsiveness was good. Pretty impressive for a couple week long temporary setup.
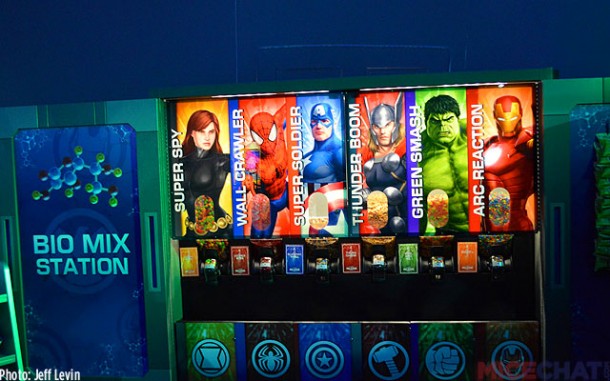
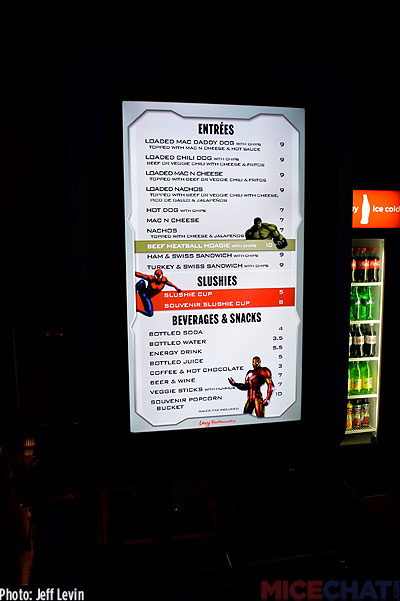
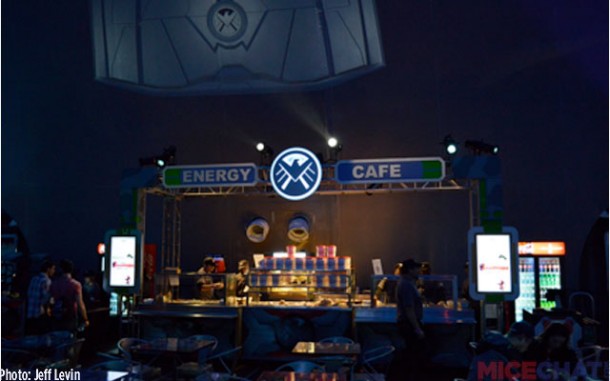
Another food and beverage location in the large main domes area. This one was conveniently located next to one of the longer lines for the “Holo-Blaster.”
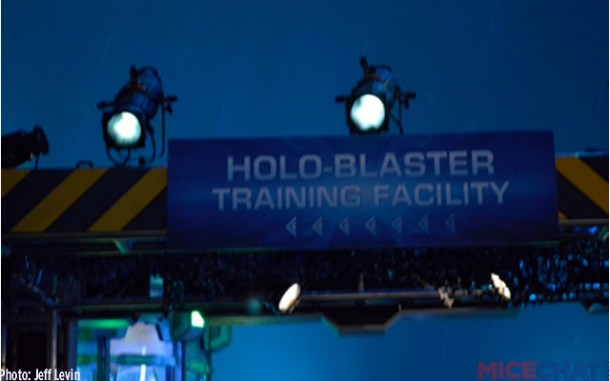
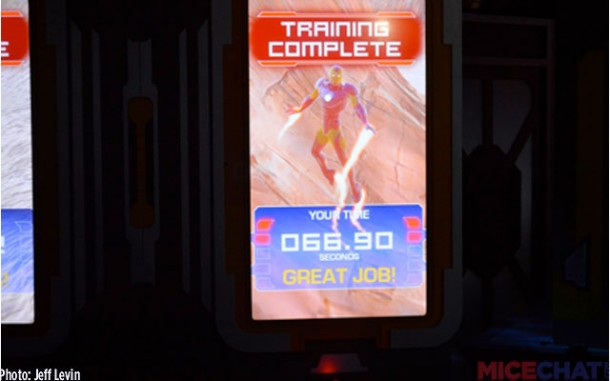
This experience, called the “Holo-Blaster” featured some of the longer lines. The experience is a 3D simulator where you use a faux video game weapon with a screen.

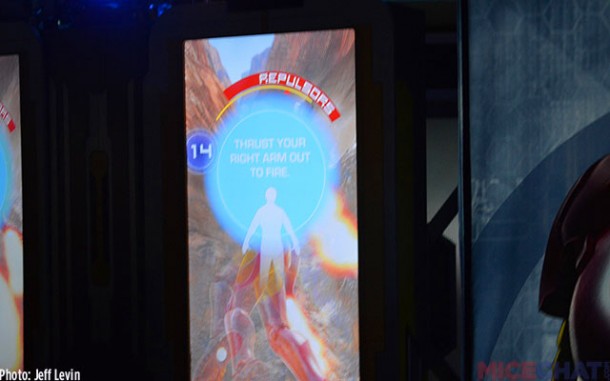
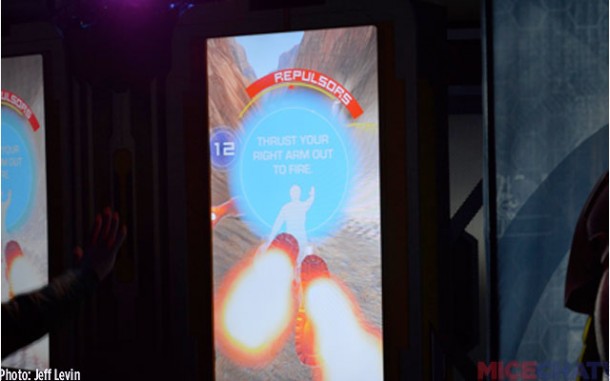
An important point with all of these interactive opportunities is the substantial queues for each interactive experience. The lines were lengthy, out in the open, and very slow. The website recommended allotting 2-3 hours for the experience, and I believe that to be true due to all the waiting. These were all low capacity, slow loading attractions and experiences. When I pre-purchased my ticket online, the site indicated they do limit the amount of people at each time slot in an attempt to control guest flow and queuing times.


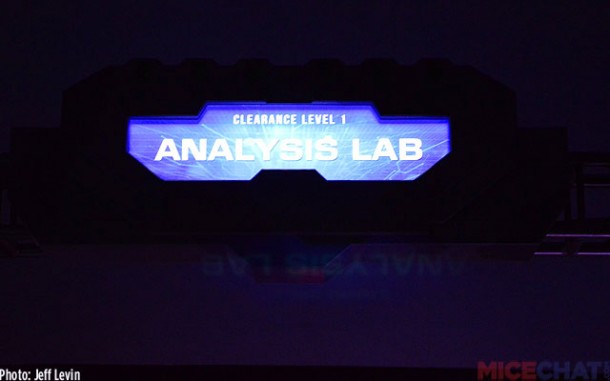
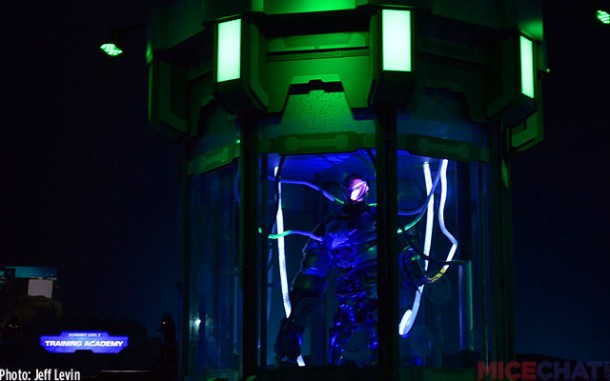
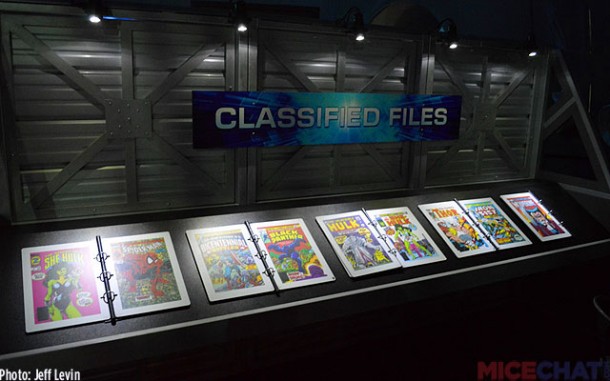
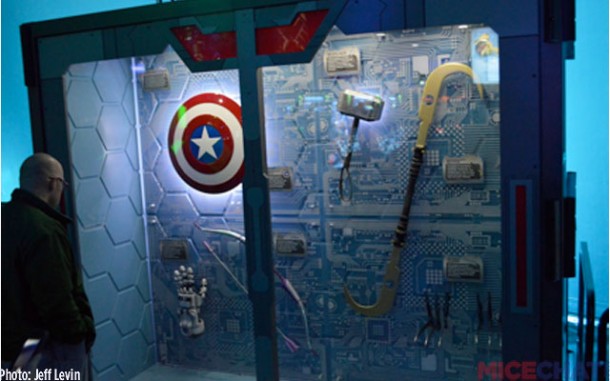
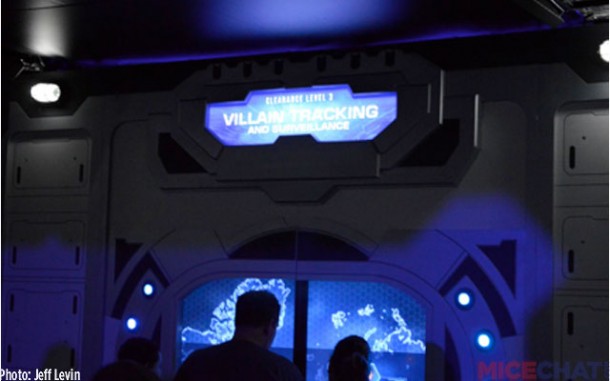
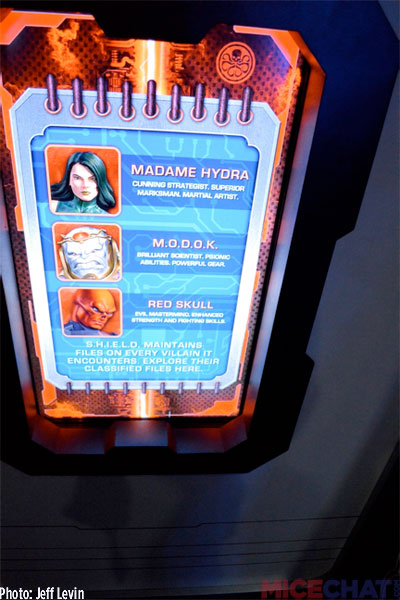
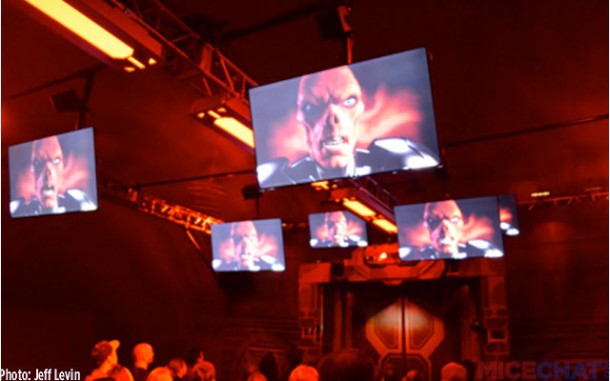
The Villains area featured numerous touchscreens where you could learn about some villains while waiting. These screens and graphics were impressive. The videos I saw were also entertaining.
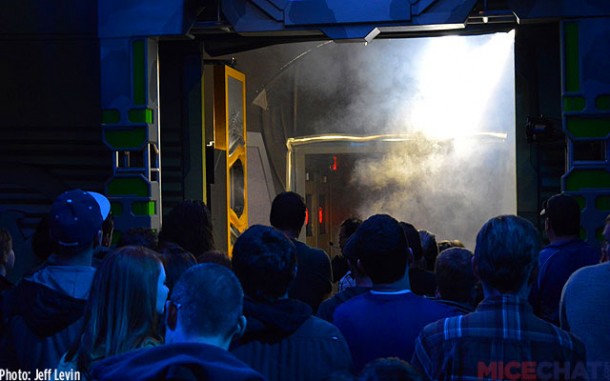
Moving along into the next dome with 3D glasses being given out to guests.
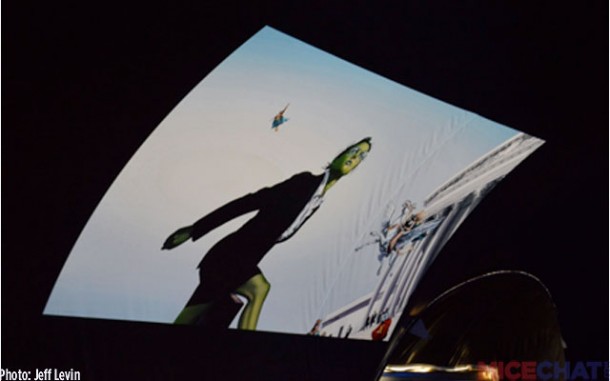

Pictures are blurry due to 3D. This part in particular was impressive and very immersive. I do not want to post too much so as to give away any of the experience in the “Simularium.” I do believe this dome was particularly compelling.
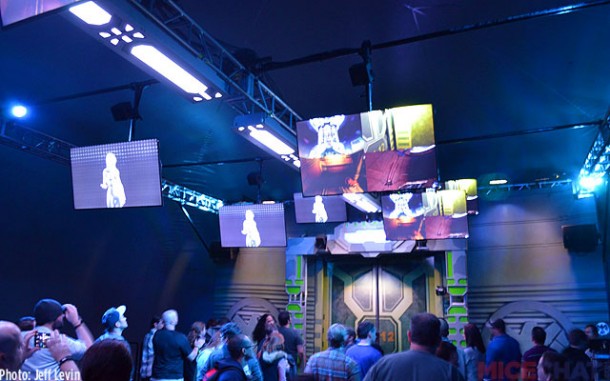
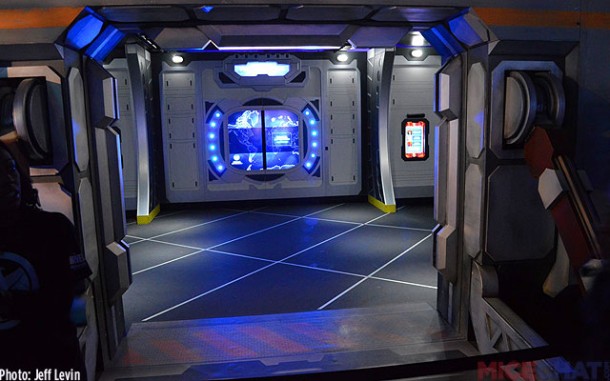
After the “Simularium” you are herded into the “Transport Corridor.” You guessed it, another holding cell. This queuing area was a little more interesting, with lighting effects and a large number of flat screens. A video was played on the screen to continue the story.
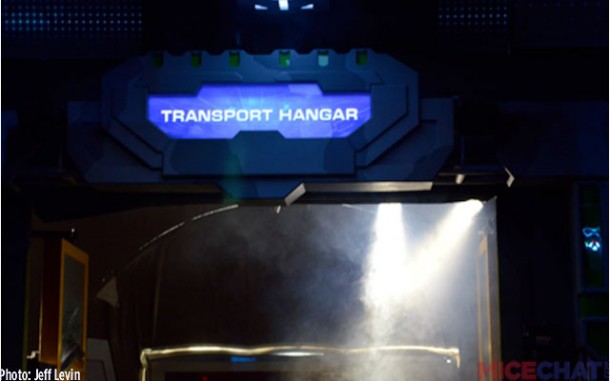
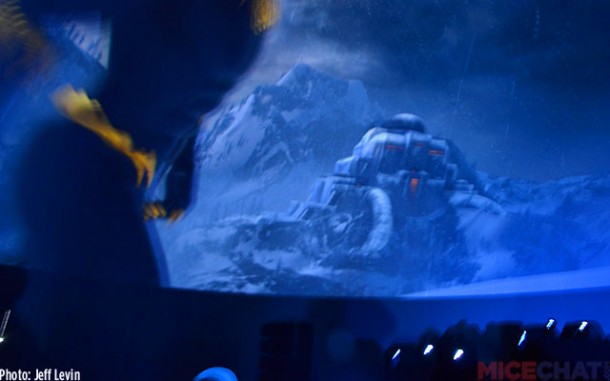
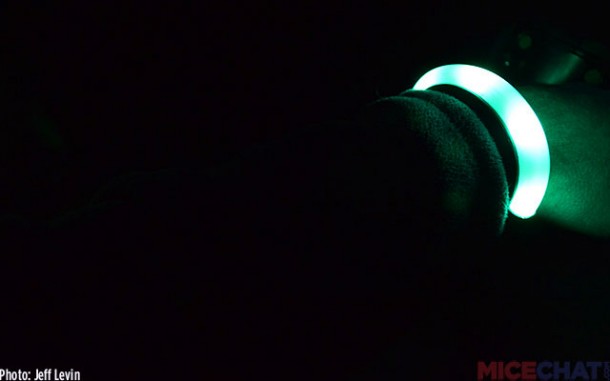
The next dome was the “Transport Hangar.” It was difficult to get pictures during this part of the experience. You essentially go into a dome with a theater style seating setup. You select a seat and are looking at a dome projection on about half of the dome (not 3D). This dome has a minimum 40” height requirement. The seats move in conjunction with the action on the screen. There were also these wristbands attached to the chairs that light up and change colors based on the action. This experience provides the grand finale to the experience and the storyline.

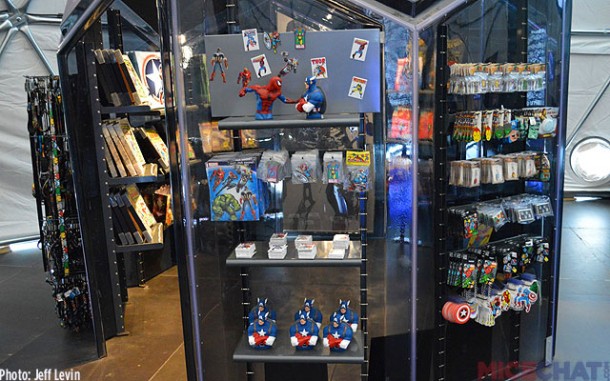
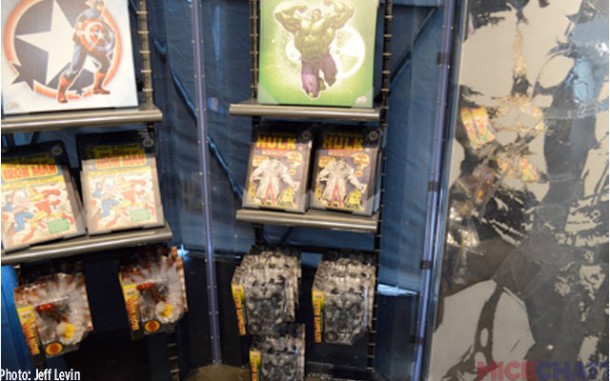
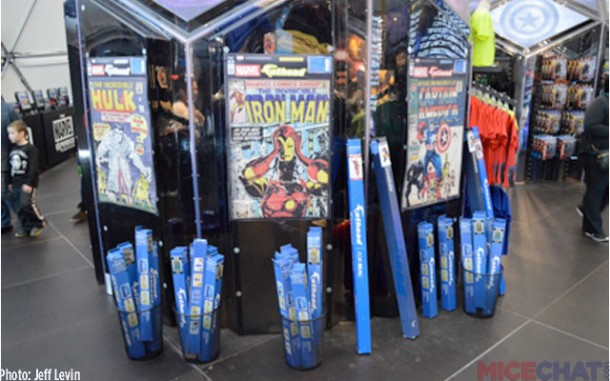
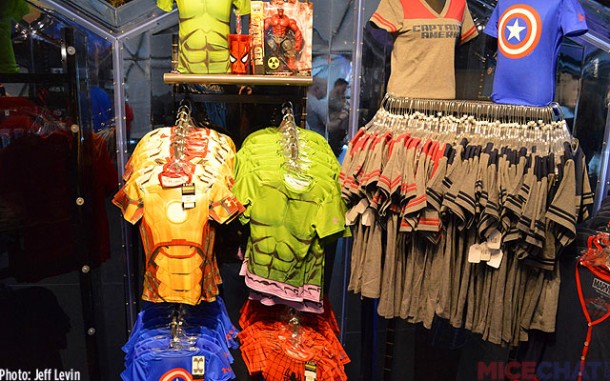
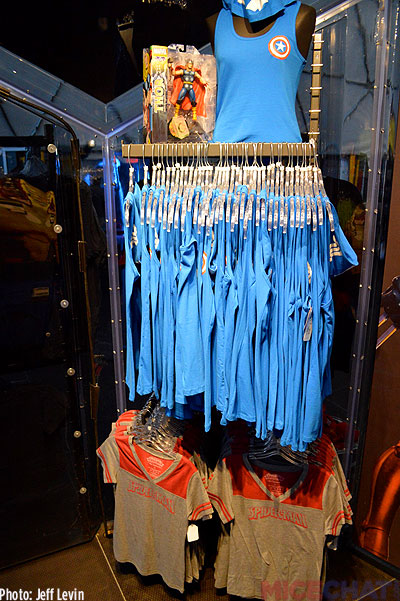
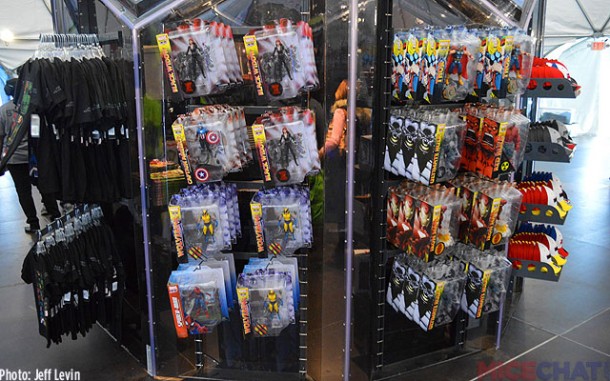
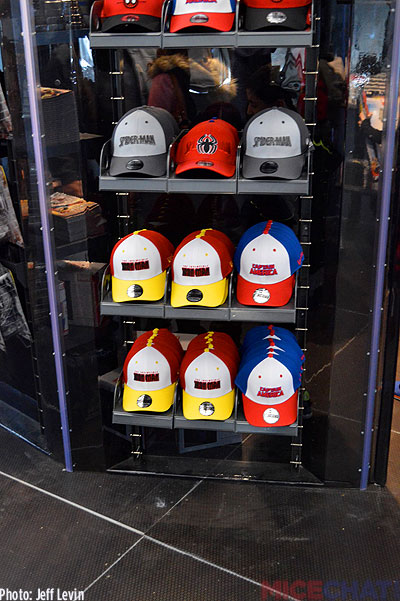
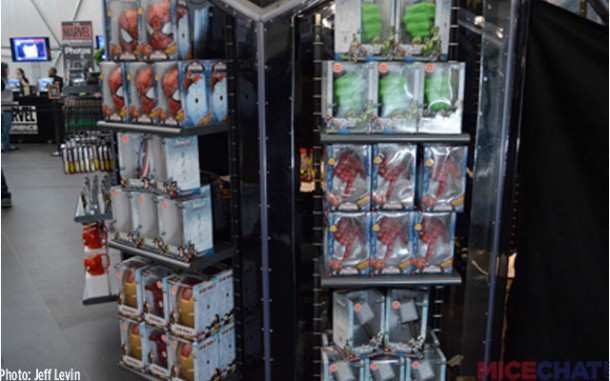
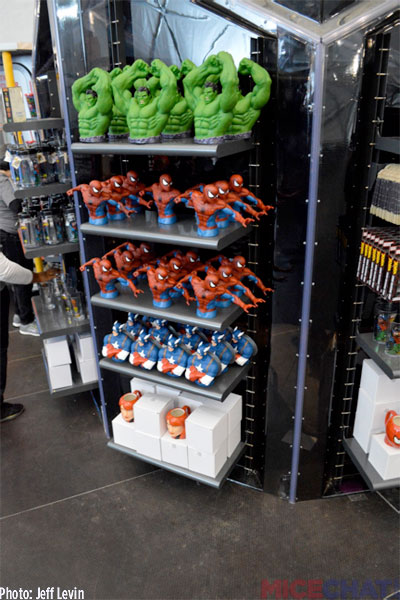
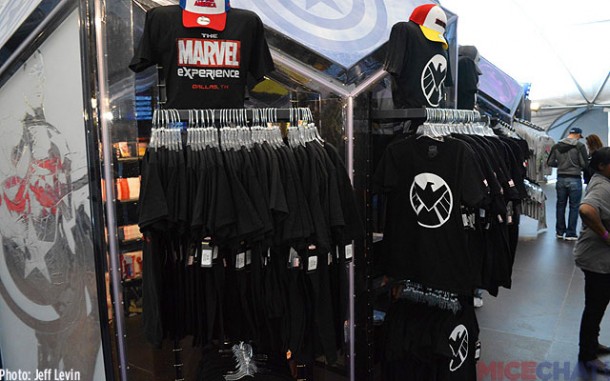
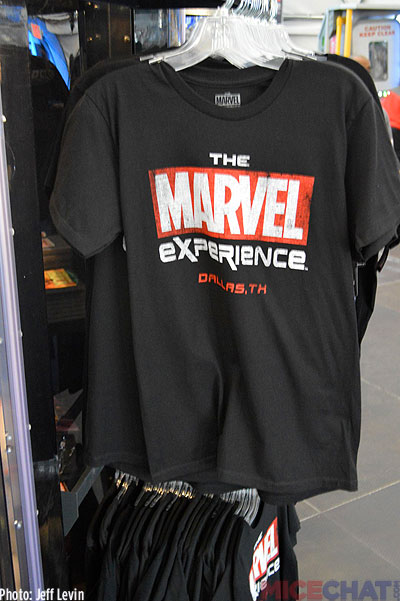
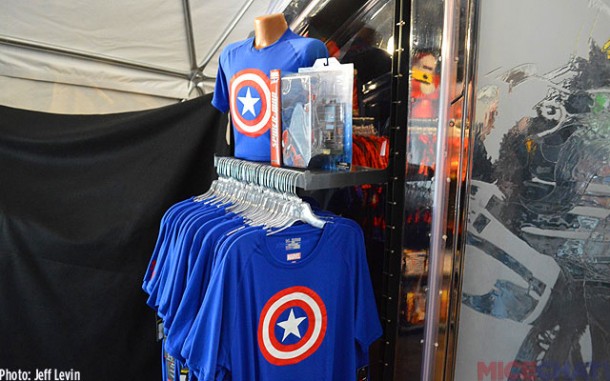
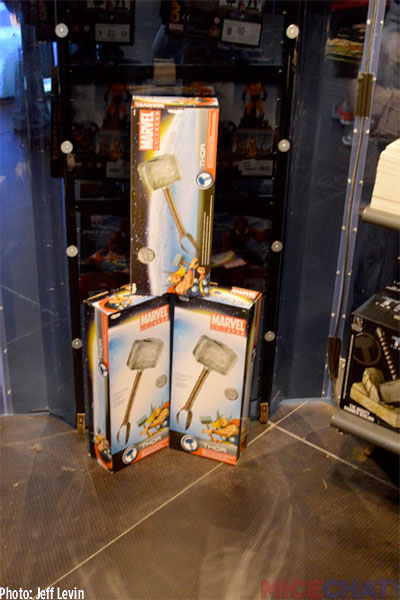
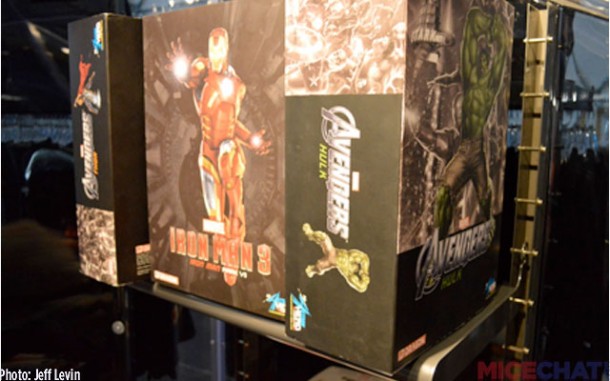
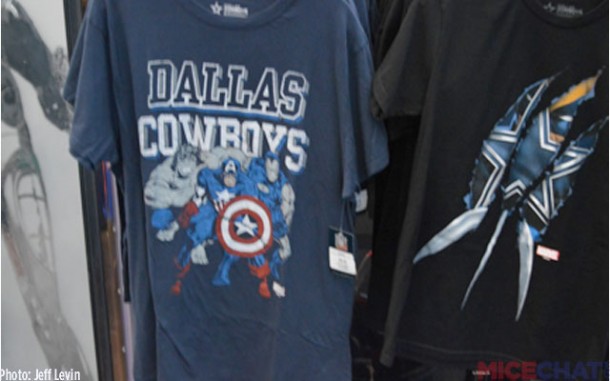
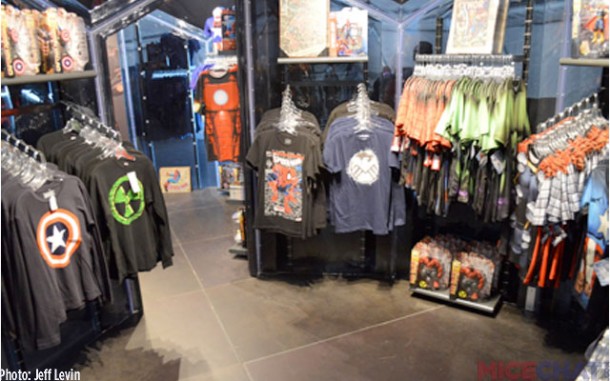
You are then dumped into the merchandise dome to close out your visit to the Marvel Experience. Tons of merchandise pics will now follow.
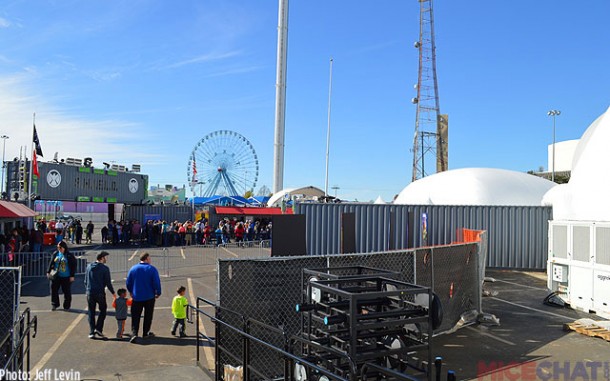
Upon exiting, you end up right where you started. The large group of people in the middle of the image below the Ferris wheel was the initial outdoor holding area in S.H.I.E.L.D. Plaza.
A picture repeated from earlier to show the general setup. The merchandise dome is on the right. The largest dome, the “Recruit Training Center” is on the left.
Overall, I thought the experience was interesting and not like anything I had done before. It was impressive what they were able to pull off in a temporary setting.
With that said, there was a high proportion of time spent waiting for the various offerings. If you are attending with kids, I can imagine the amount of waiting might be quite tough. The admission price alone is not itself unreasonable, but adding food, drinks, merchandise, photos, and parking can change that analysis. Some of the interactive components, as well as the “Simularium” were very impressive and engaging.
If you are a Disney Parks aficionado, this is a neat way to get a little Disney closer to home. For those that live closer to Orlando or Anaheim, this may not be quite as appealing. The next two advertised stops on the Marvel Experience tour are Del Mar, CA and San Francisco, CA.
You can find tickets for the Marvel Experience HERE. And before you buy at full price, be sure to check Goldstar as tickets have also been made available there at up to 50% off.
What do you think? Have you been to the Marvel Experience? If you have not been, do you plan on going? What do you think about this traveling experience concept? Has anyone gone and experienced the VIP offerings? Any other questions you have that I did not answer? Please let me know in the comments below!
You must be logged in to post a comment.